Arduino 下用A4988或TMC2209驱动42步进电机 在DIY黑胶唱机的过程中,准备用一个42步进电机带动唱盘,需要恒定的每分钟33.33转的转速。 记录一下折腾的过程。 用洞洞板制作的驱动电路: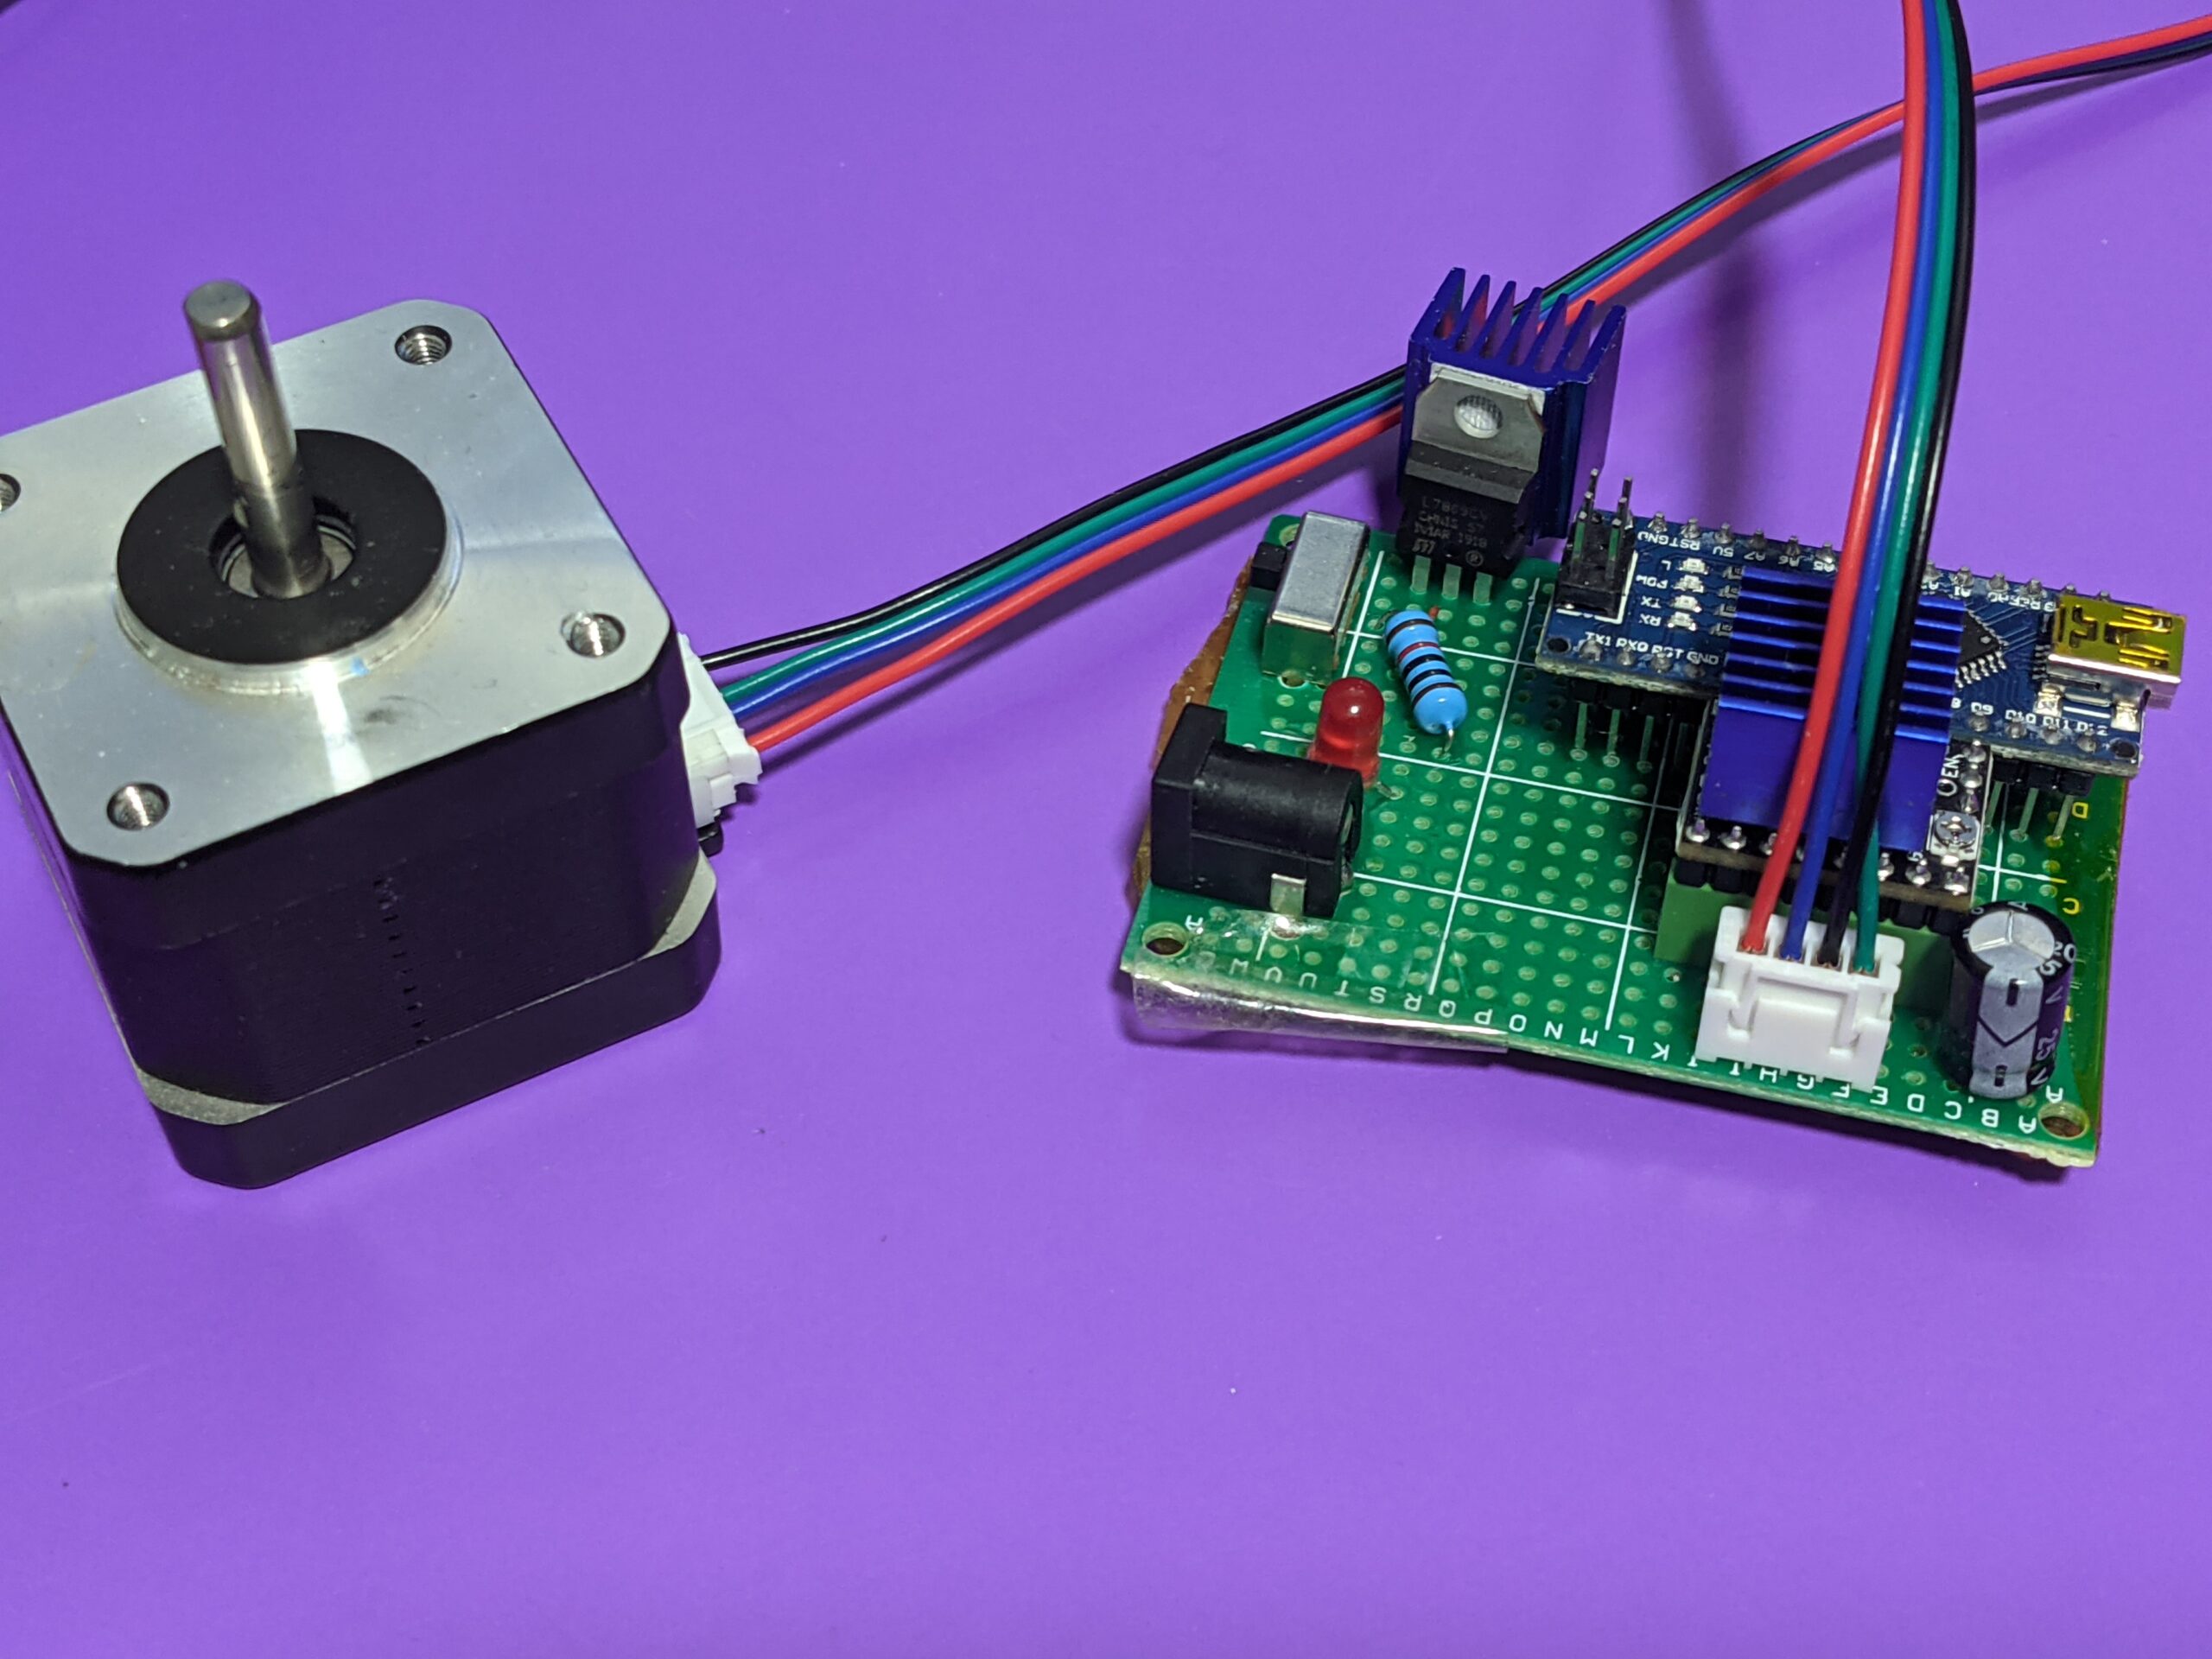
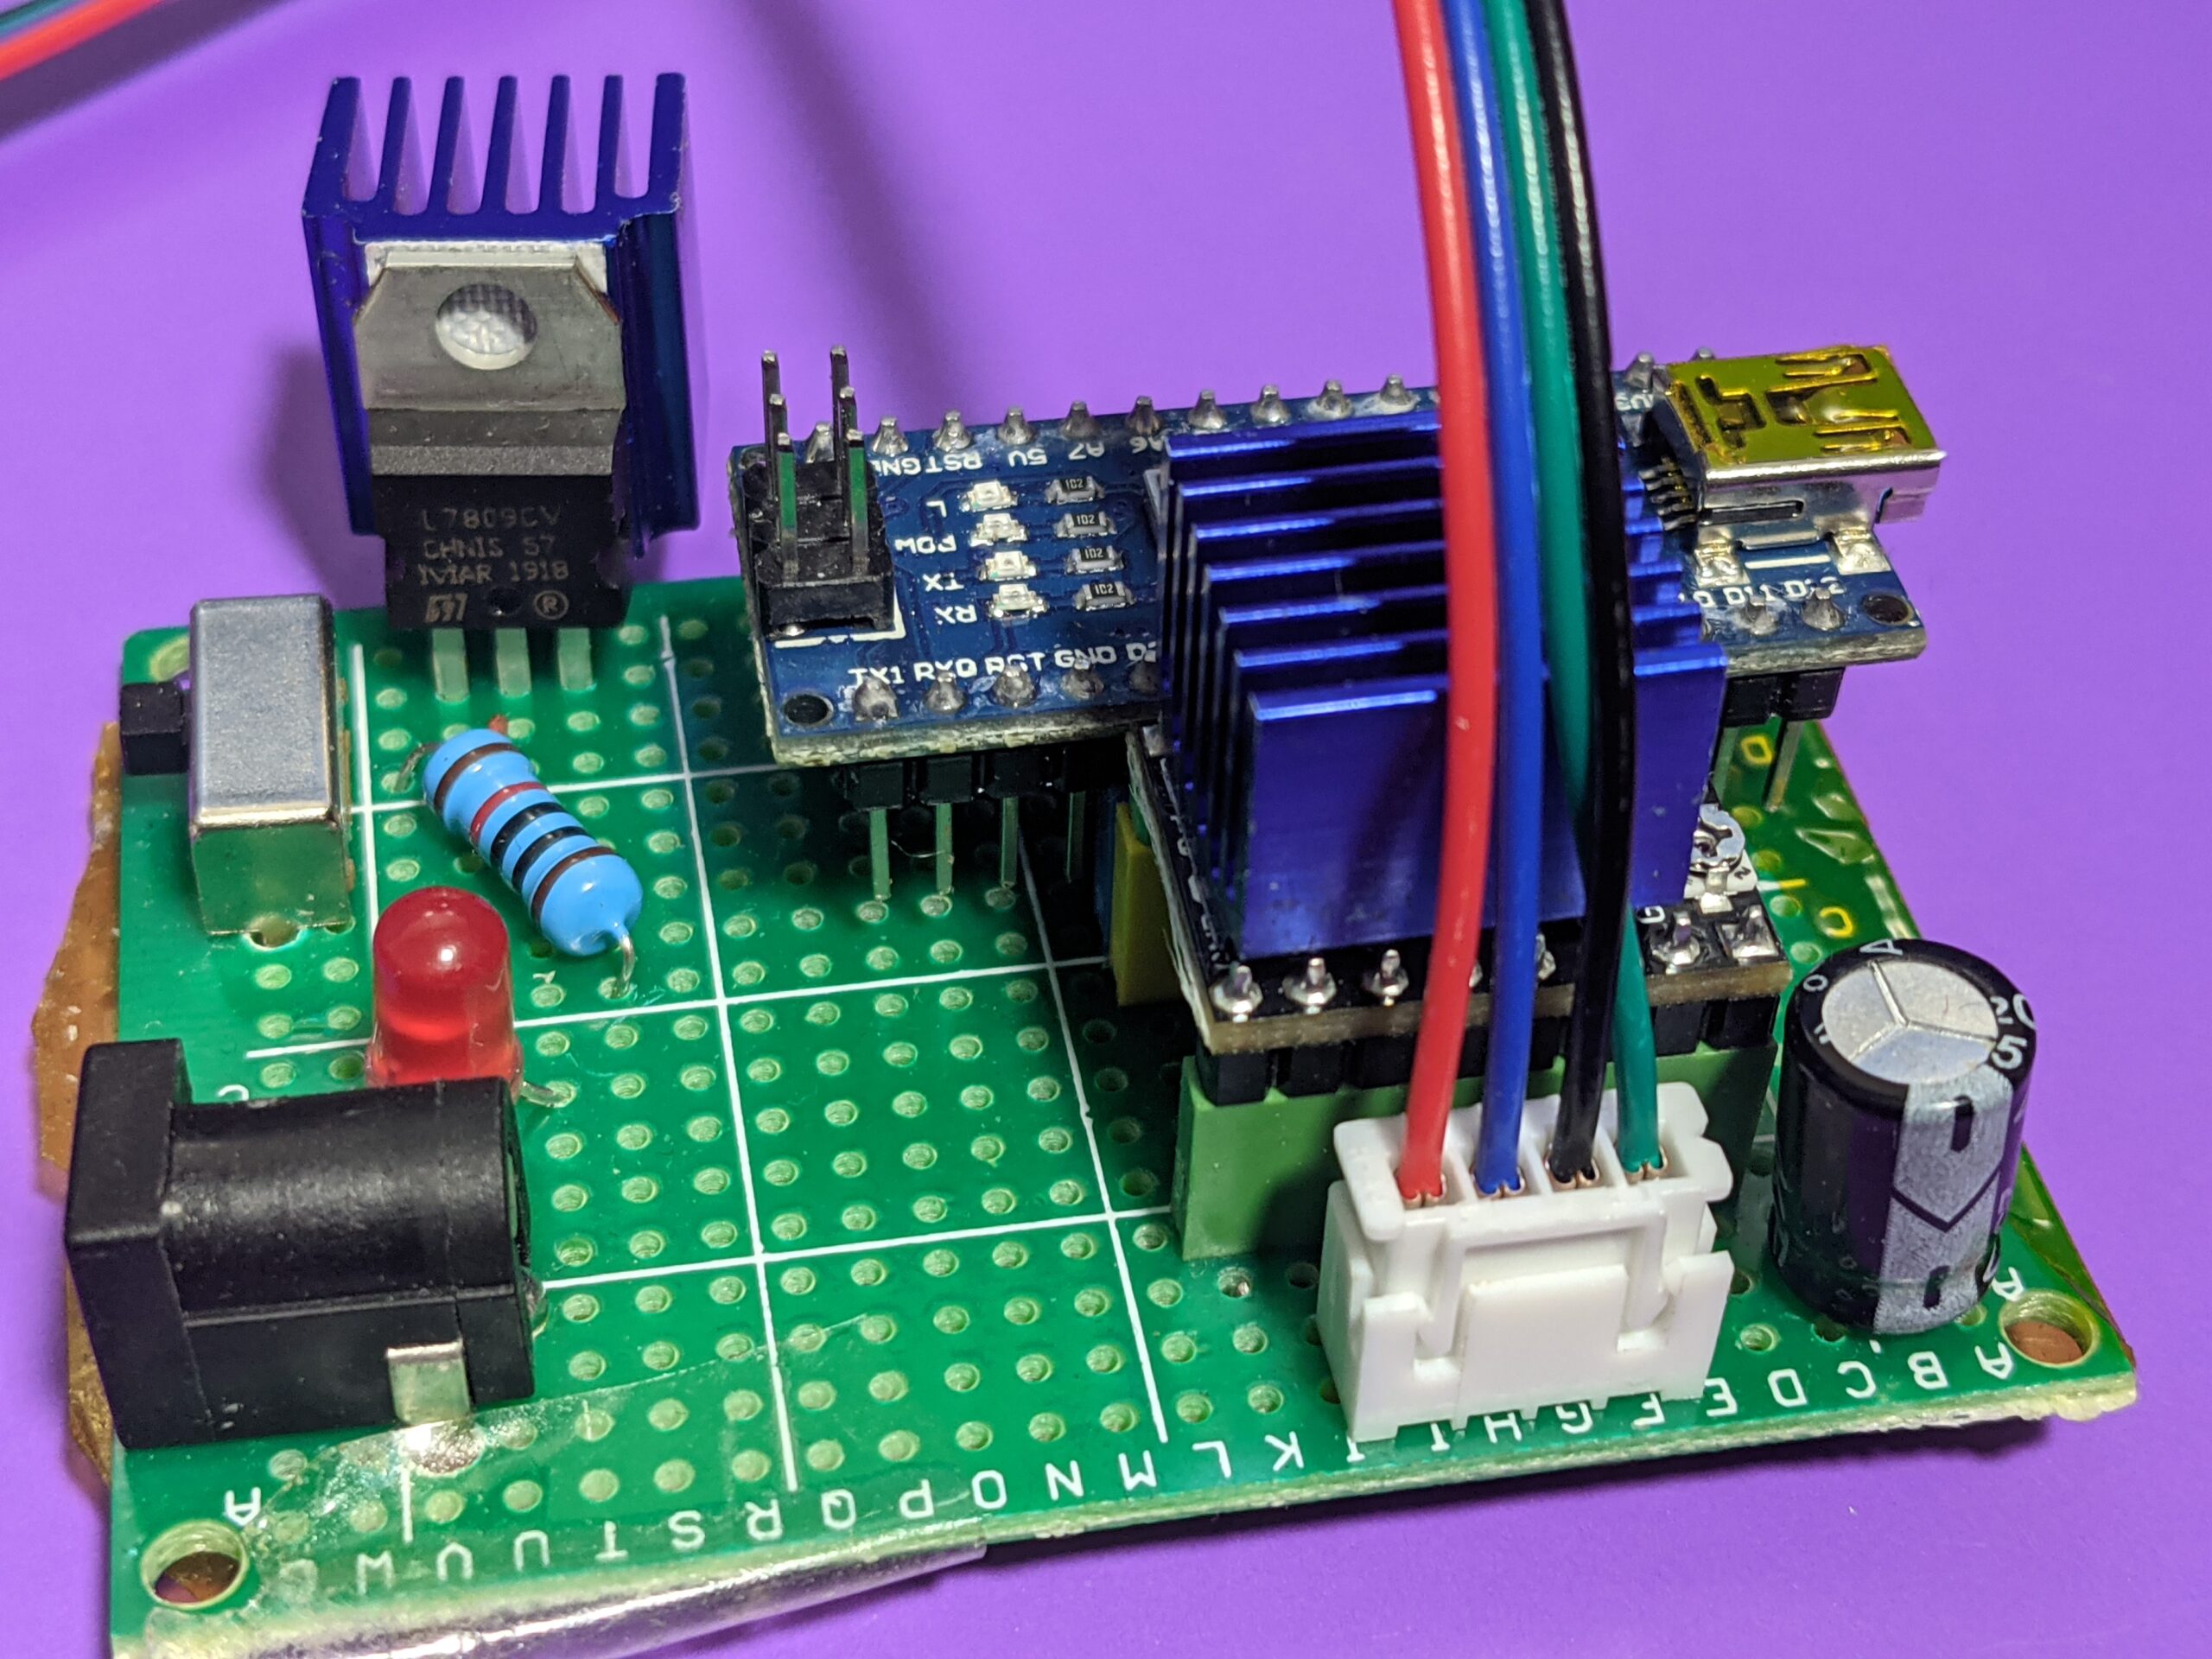 驱动板接线图
 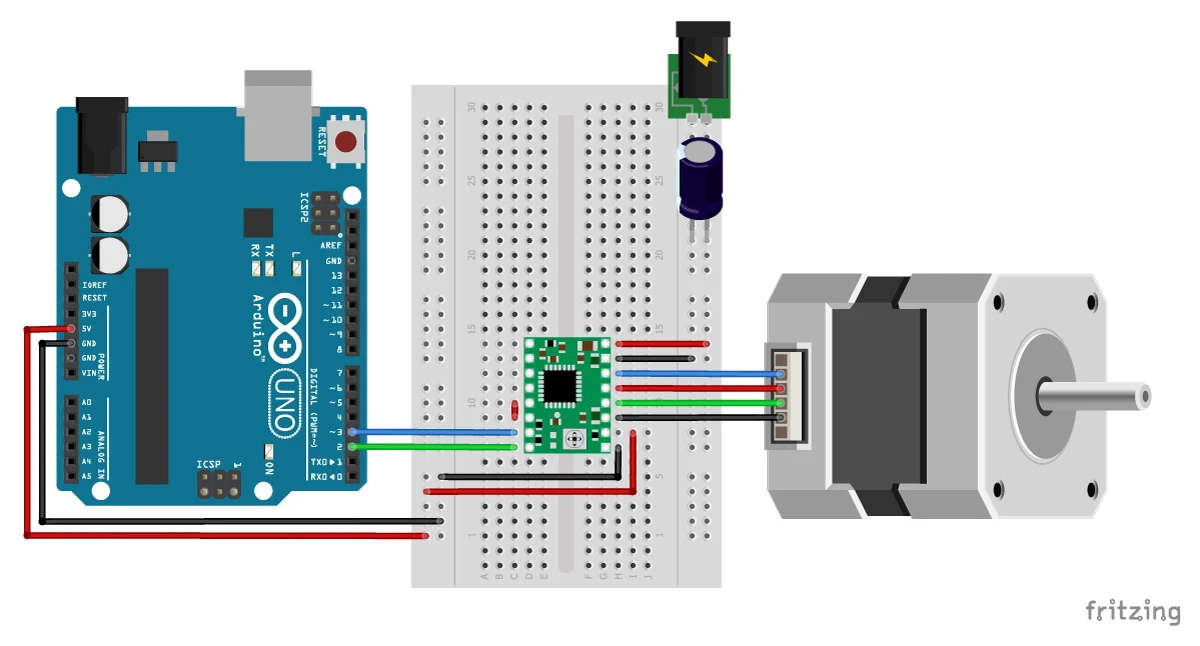 先拿价格便宜很多的A4988做实验
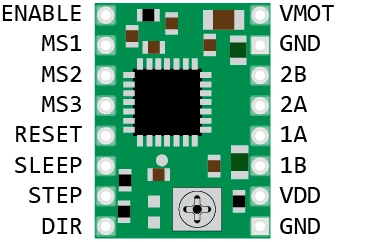
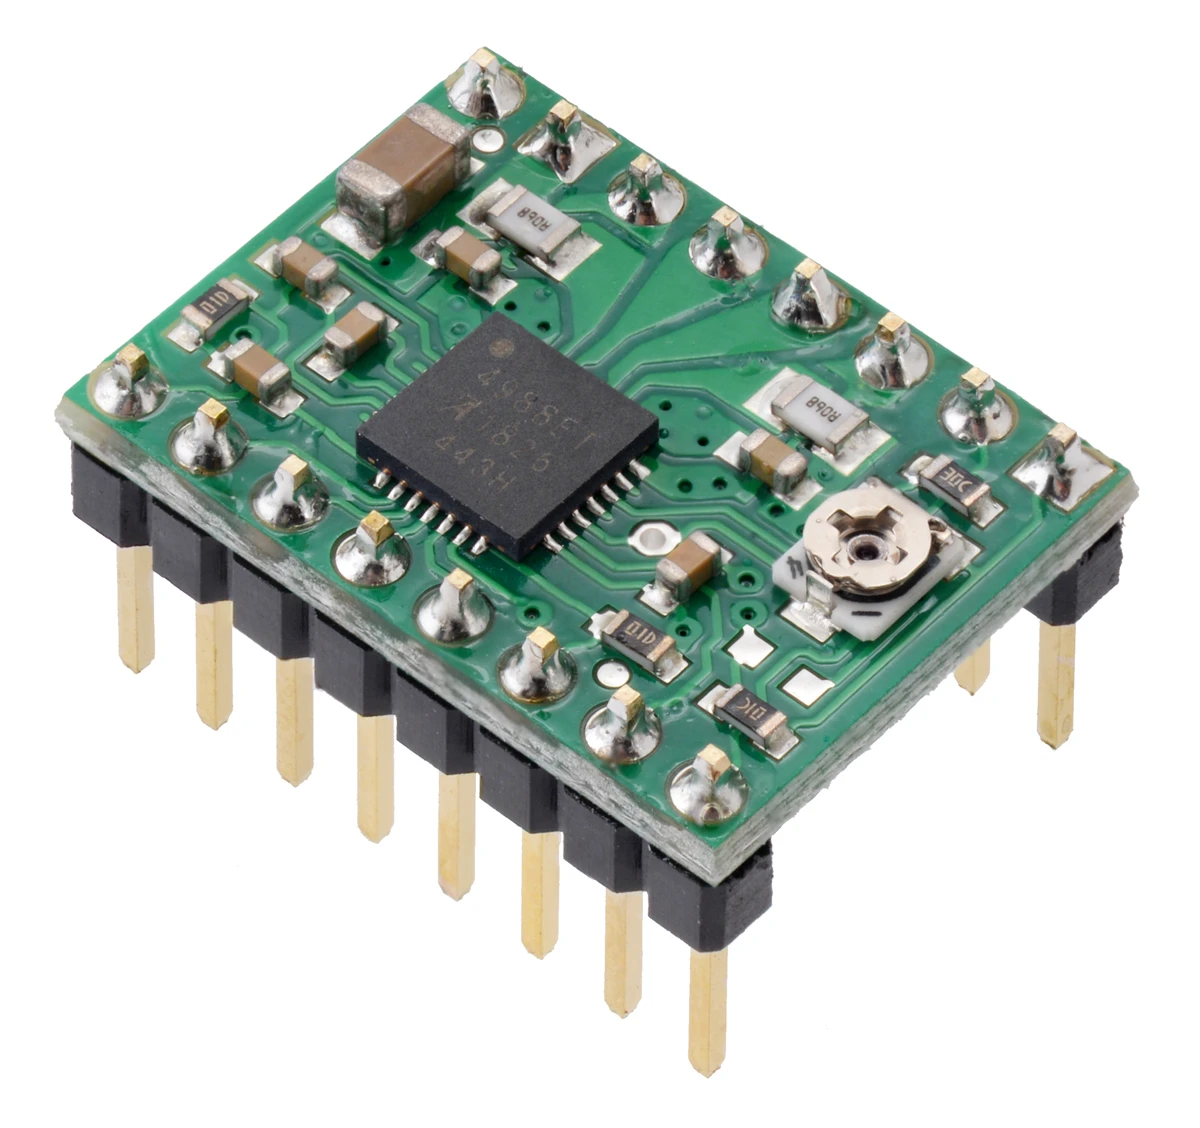 按照接线图在面包板上把线接好。 Ardunio代码如下: bool PULSE_STATE = true; // A4988引脚连接Arduino引脚编号 const int dirPin = 2; // Direction const int stepPin = 3; // Step const int sleepPin = 4; // Sleep const int resetPin = 5; // Reset const int ms3Pin = 6; // Ms3 const int ms2Pin = 7; // Ms2 const int ms1Pin = 8; // Ms1 const int enPin = 9; // Enable void setup() { // 设置引脚模式 pinMode(stepPin,OUTPUT); pinMode(dirPin,OUTPUT); pinMode(sleepPin,OUTPUT); pinMode(resetPin,OUTPUT); pinMode(ms3Pin,OUTPUT); pinMode(ms2Pin,OUTPUT); pinMode(ms1Pin,OUTPUT); pinMode(enPin,OUTPUT); // 初始化引脚状态 digitalWrite(sleepPin, HIGH); digitalWrite(resetPin, HIGH); digitalWrite(enPin, LOW); digitalWrite(ms1Pin, LOW); digitalWrite(ms2Pin, LOW); digitalWrite(ms3Pin, LOW); // 初始化电机步进模式为全步进 //TMC2209 64细分 digitalWrite(ms1Pin, LOW); digitalWrite(ms2Pin, HIGH); //Clockwise 顺时针旋转 digitalWrite(dirPin, 1); cli(); //stop interrupts for till we make the settings /*1. First we reset the control register to amke sure we start with everything disabled.*/ TCCR1A = 0; // Reset entire TCCR1A to 0 TCCR1B = 0; // Reset entire TCCR1B to 0 TCNT1 = 0; // turn on CTC mode TCCR1B |= (1 << WGM12); /*2. We set the prescalar to the desired value by changing the CS10 CS12 and CS12 bits. */ TCCR1B |= B00000001; /*3. We enable compare match mode on register A*/ TIMSK1 |= (1 << OCIE1A); OCR1A = 1125; //Finally we set compare register A to this value sei(); //Enable back the interrupts } void loop() { // put your main code here, to run repeatedly: } ISR(TIMER1_COMPA_vect){ PULSE_STATE = !PULSE_STATE; digitalWrite(stepPin,PULSE_STATE); } 代码主要使用了TIMER1定时器。需要计算发送到电机的脉冲频率。用的Arduino NANO 主频是26MHz, 普通42步进电机的步距角是1.8度,转一圈都要200个脉冲,A4988芯片最大可使用的细分是16细分,如果用16细分,转一圈都要200*16=3200个脉冲。我的目标是每三分钟转100转,需要的脉冲频率是100*3200/(3*60)=1777.77Hz A4988驱动芯片噪音比较大,步进电机运转时震动比较大。试验成功之后,换上了高大上的TMC2209芯片,电机低速运转时超级安静,震动极小。TMC2209内部支持256细分,计算脉冲频率的时候需要重新计算一下。上面代码中使用的是TMC2209芯片的版本。 用洞洞板制作的时候,用了一片LM7809稳压芯片给NANO主板供电,但当使用24伏电压时,LM7809芯片发热比较严重。后续准备换一个DCDC模块。 使用这个步进电机的唱机演示:
2024最新激活全家桶教程,稳定运行到2099年,请移步至置顶文章:https://sigusoft.com/99576.html
版权声明:本文内容由互联网用户自发贡献,该文观点仅代表作者本人。本站仅提供信息存储空间服务,不拥有所有权,不承担相关法律责任。如发现本站有涉嫌侵权/违法违规的内容, 请联系我们举报,一经查实,本站将立刻删除。 文章由激活谷谷主-小谷整理,转载请注明出处:https://sigusoft.com/36127.html


